注意事项:
使用 2024-03-14 发布的 Spring 5.3.33 版本
IDE 工具使用了 Intellij IDEA,同时为了简化不必要的内容没单独配置 Gradle 环境
JDK 版本采用 Eclipse Temurin 1.8/11 均可
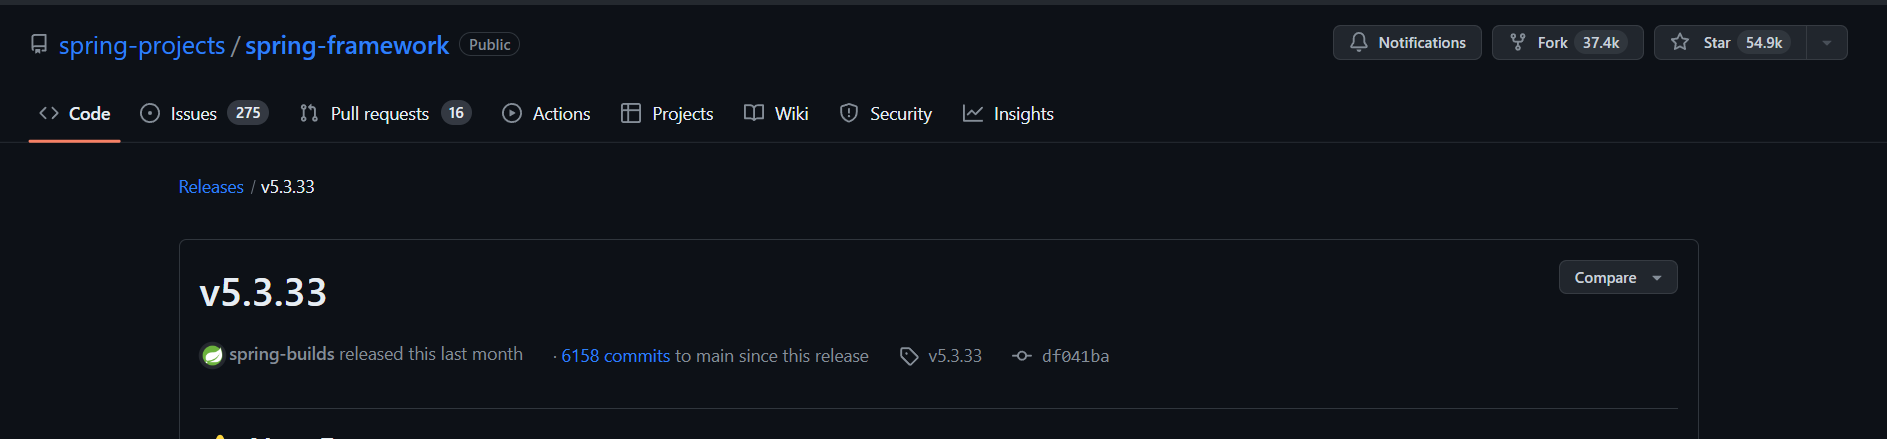
下载源码 下载 SpringFramework 源码,本次选择 5.3.33 版本,发布日期 2024-03-14,通过 Intellij IDEA 打开。
Gihub地址: https://github.com/spring-projects/spring-framework/releases/tag/v5.3.33
配置 Gradle 环境 由于国内下载 gradle 比较慢可以考虑使用腾讯云镜像源,在 /gradle/wrapper/gradle-wrapper.properties 中修改 distributionUrl
1 distributionUrl =https\://mirrors.cloud.tencent.com/gradle/gradle-7.5.1-bin.zip
同时仓库地址可修改为阿里云,在 build.gradle 中配置阿里云镜像
1
2
3
4
5
6
7
8
9
10
allprojects { repositories { maven { url 'https://maven.aliyun.com/repository/public/' } maven { url 'https://maven.aliyun.com/repository/spring/' } maven { url 'https://maven.aliyun.com/repository/jcenter/' } maven { url 'https://maven.aliyun.com/repository/gradle-plugin/' } mavenLocal() mavenCentral() } }
在 Gradle 先 Reload All Gradle Projects,再执行 build 命令进行编译。
期间碰到报错信息,报错详情:
1
2
spring-core\src\main\java\org\springframework\core\CoroutinesUtils.java:74: 警告: [deprecation] AccessibleObject中的isAccessible()已过时 if (method.isAccessible() && !KCallablesJvm.isAccessible(function)) {
解决方法:在 org.springframework.core.CoroutinesUtils#invokeSuspendingFunction 加上 @SuppressWarnings("deprecation")
若控制台输出中文乱码,Intellij IDEA 中设置 vm.properties
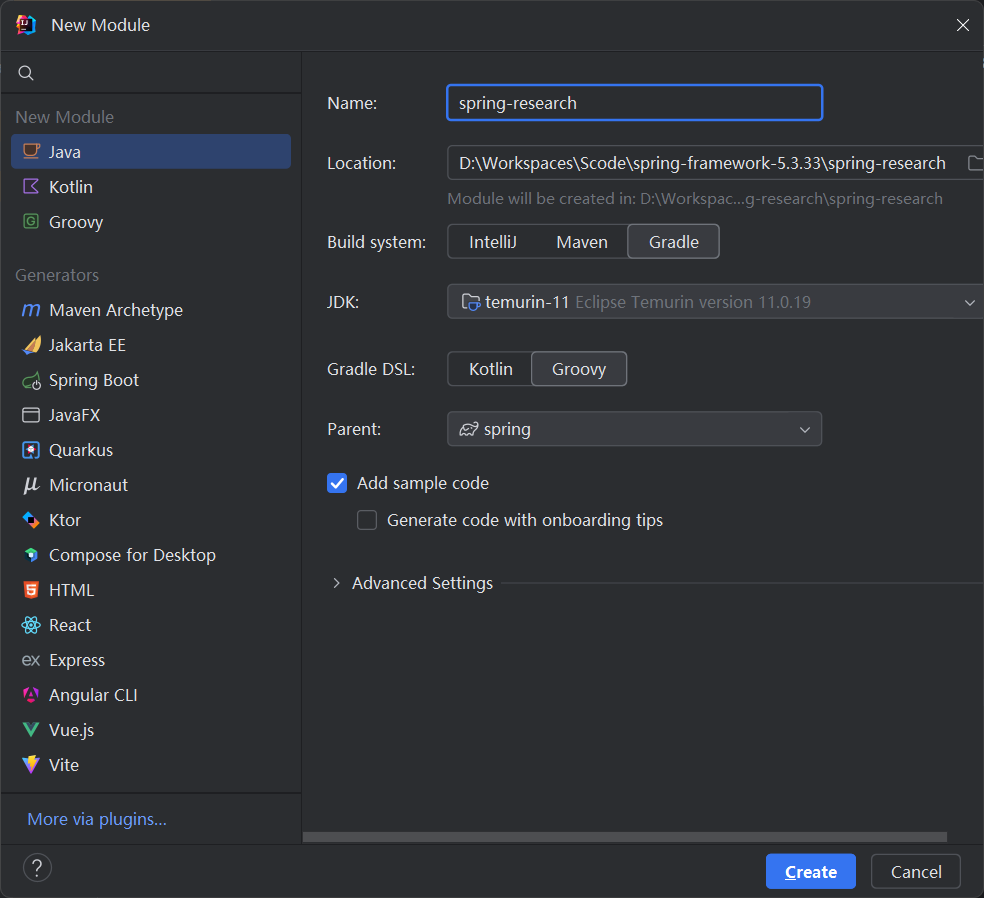
新建测试 Module 通过 gradle 新建一个 module,取名为 spring-research
module 新增完成后会自动在 settings.gradle 中引用 spring-research 模块,若没有自动引入可以手动加入
1 include 'spring-research'
在 spring-research 中的 build.gradle 中引入 spring-context
1
2
3
4
5
6
dependencies { testImplementation platform('org.junit:junit-bom:5.10.0') testImplementation 'org.junit.jupiter:junit-jupiter' // 引入 spring-context 依赖 api(project(":spring-context")) }
可选项:此外由于 Spring 源码工程配置了 checkStyle,在做测试类的时候有些方法不能够满足 Spring 的规范要求(由于使用 Intellij IDEA 自动生成或者格式化的代码不满足要求,比如 tab indent,实体类 this 指向,包括 import 隔行等规则),可以通过在 src/checkstyle/checkstyle.xml 中添加过滤规则:
1 2 3 <module name ="BeforeExecutionExclusionFileFilter" > <property name ="fileNamePattern" value ="^.*\\spring\-research\\.*$" /> </module >
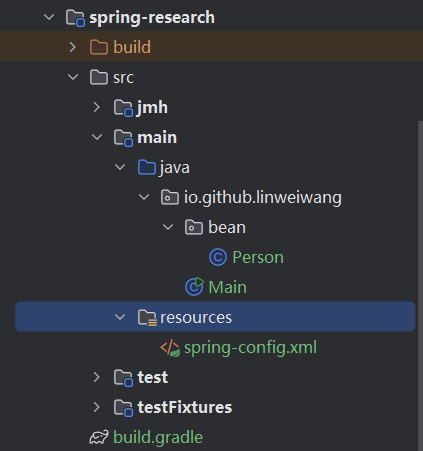
新建实体类 Person
1
2
3
4
5
6
7
8
9
10
11
12
13
14
15
16
17
18
19
20
21
22
23
24
25
26
27
28
29
30
package io.github.linweiwang.bean;public class Person { private String name; private int age; public String getName () { return name; } public void setName (String name) { this .name = name; } public int getAge () { return age; } public void setAge (int age) { this .age = age; } @Override public String toString () { return "Person{" + "name='" + name + '\'' + ", age=" + age + '}' ; } }
在 resources.properties 中新建 spring-config.xml
1
2
3
4
5
6
7
8
9
<?xml version="1.0" encoding="UTF-8" ?> <beans xmlns ="http://www.springframework.org/schema/beans" xmlns:xsi ="http://www.w3.org/2001/XMLSchema-instance" xsi:schemaLocation ="http://www.springframework.org/schema/beans http://www.springframework.org/schema/beans/spring-beans.xsd" > <bean id ="person" class ="io.github.linweiwang.bean.Person" > <property name ="name" value ="王" /> <property name ="age" value ="18" /> </bean > </beans >
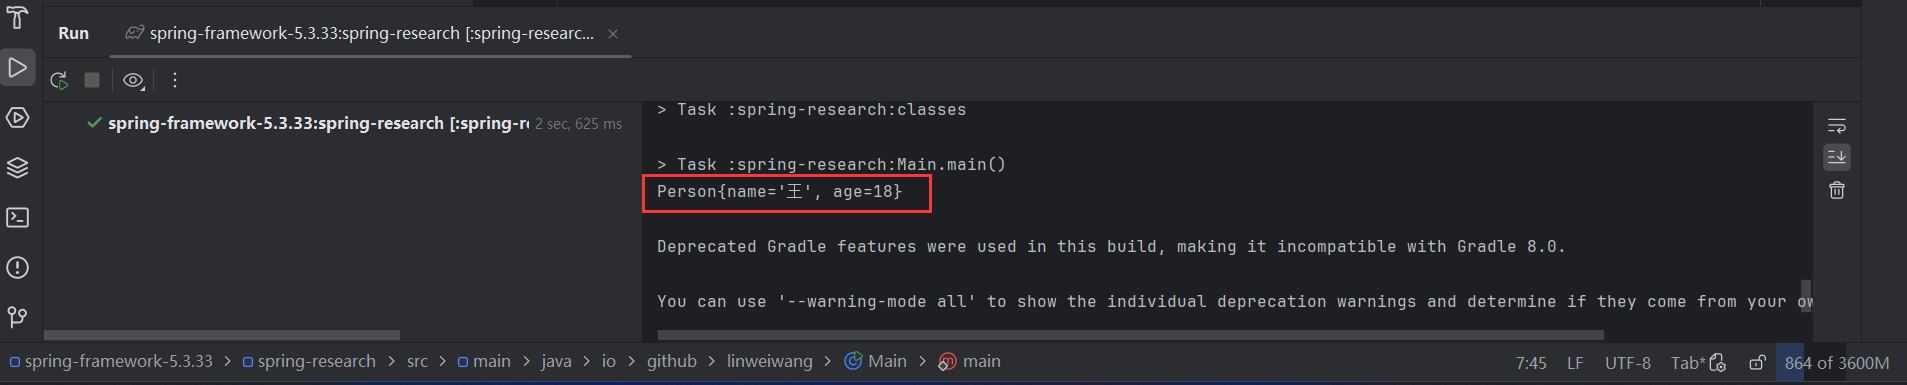
在 Main 中调用 SpringContext 获取 Bean 的实例
1
2
3
4
5
6
7
8
9
10
11
12
package io.github.linweiwang;import io.github.linweiwang.bean.Person;import org.springframework.context.support.ClassPathXmlApplicationContext;public class Main { public static void main (String[] args) { ClassPathXmlApplicationContext context = new ClassPathXmlApplicationContext ("spring-config.xml" ); Person person = context.getBean(Person.class); System.out.println(person); } }
运行成功即环境搭建成功!